Create a PO:
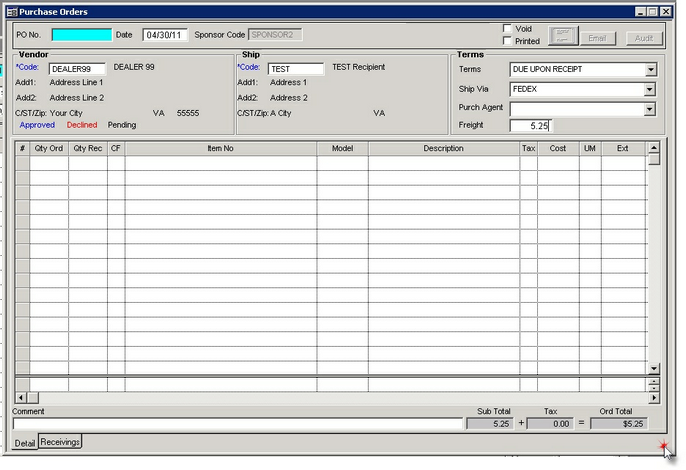
| 1. | Open PO screen from: main menu Forms / Purchase Order / Purchase Orders. |
| 2. | Select the Vendor by entering a partial name and tabbing out of the field. A selection window will appear. Enter a percent sign (%) and tab out to get a list of all available vendors. |
| 3. | Select the Ship To location in the same manner as selecting the Vendor. |
| 4. | Enter in the Terms and Ship Via selections from the drop downs. The Purch Agent field is currently unused. |
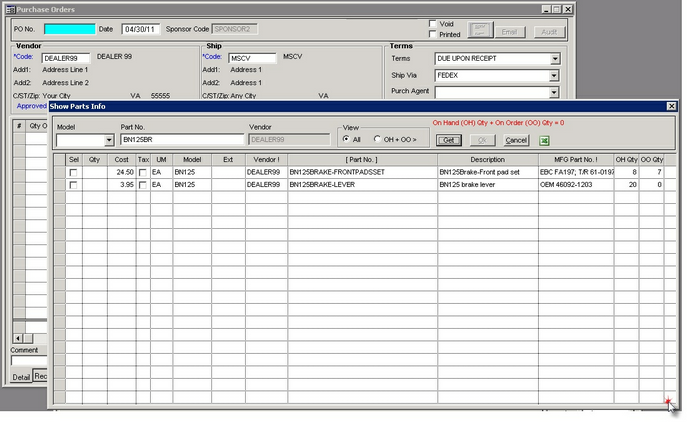
| 5. | To enter a new line item, click on the top row to highlight it and then press the INSERT key. The Parts Get dialog will pop up for Parts selection. Only parts for the selected vendor will appear. |
| 6. | Selecting the MC Model or entering a partial Part Number will narrow the search: |
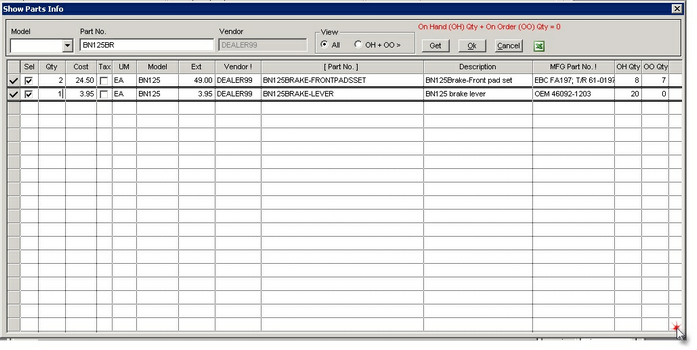
| 7. | Check on the "Sel" checkbox, enter a part quantity, press "OK" when done selecting. You can select multiple parts at one time from this screen. Selecting the OH + OO radio button returns parts that show On-Hand inventory or parts that are On Order. |
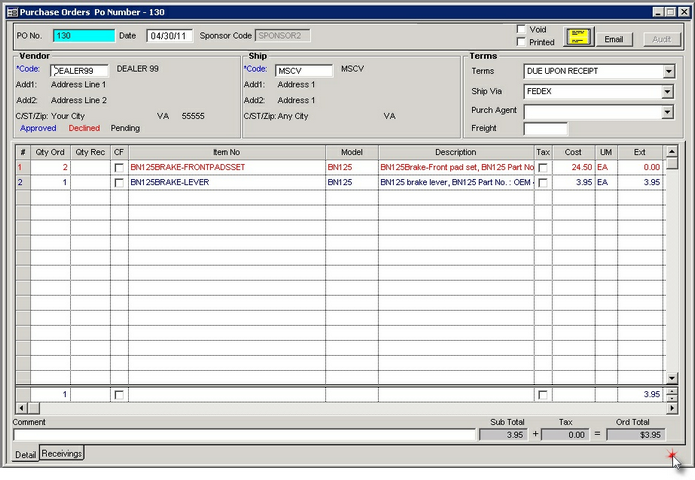
| 8. | Once done selecting Parts the PO will be updated. Click on the Save icon or press "Ctrl + S" to create / save the purchase order. The PO number is automatically assigned. Before a PO can be finalized and received against, it must first be Approved by Administration. Note that line items in a PO that are pending approval are displayed in Black. Items that have been approved are displayed in Blue, and Items that have been declined are displayed in Red. |

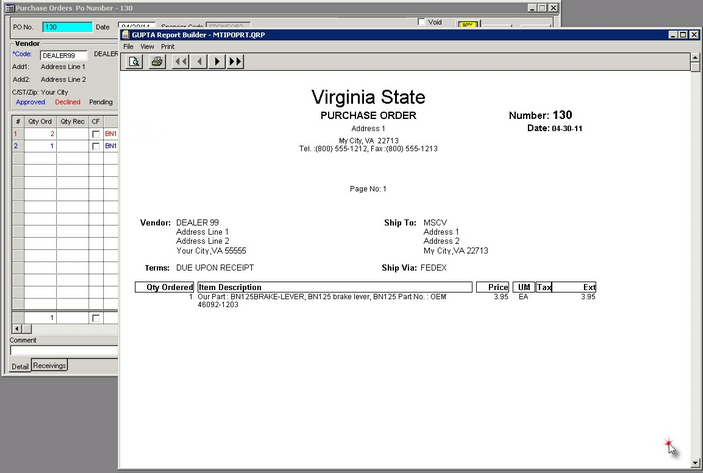
| 9. | When printing a PO for the Vendor, only the approved items are displayed: |
| 10. | The Receivings tab on a new PO will be empty. As PO Receivings are generated, this tab will automatically update. |

Click HERE to go to PO Approval help.
Click HERE to go to PO Receiving help.